Before/After Photo Effect with jQuery
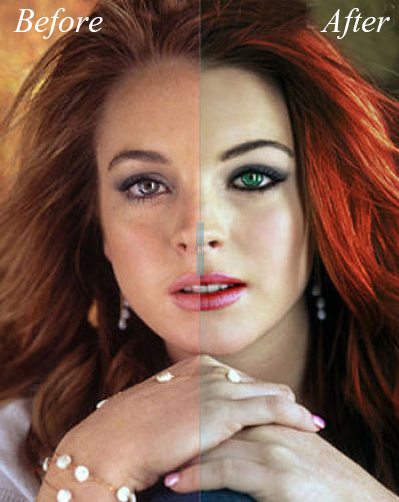
If you blog about design or makeup, or if you use before and after image comparison , you'll probably find this script useful. In this tutorial, we'll take a look at adding the Before/After plugin, which is a script that works with jQuery to dynamically render two images at the same time.
To see how it works, click the demo link below and drag the small bar horizontally to see the two images being compared:

Running this script is very easy. We only need jQuery, text before/after and two images to compare.
 Step 2. Before this Paste the following scripts:
Note If the above script doesn't work, add it above the file
To see how it works, click the demo link below and drag the small bar horizontally to see the two images being compared:

Running this script is very easy. We only need jQuery, text before/after and two images to compare.
How to Add a Before/After Effect to Blogger Photos
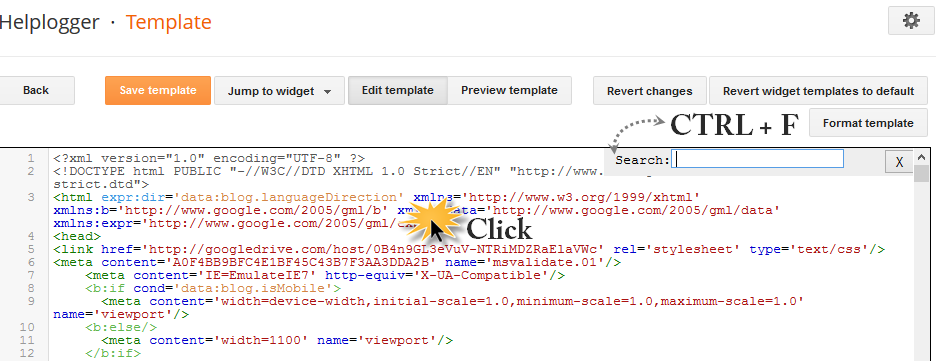
Step 1. Go to "Template" and click the "Edit HTML" button. When the HTMK template editor opens, click anywhere in the icon area and press CTRL+F to find this label; press Enter to find it:
The third step. Click the Save Form button to save your changes.
Note If the above script doesn't work, add it above the file
Post a Comment for "Before/After Photo Effect with jQuery"